Staring at that empty patch of yard, you feel overwhelmed.
So many possibilities, so little direction.
I’ve been there. I’ve helped countless new gardeners who felt the same way.
Design paralysis is real. But it doesn’t have to be your reality.
In this article, we’ll demystify the design process.
We’re giving you a simple, repeatable system for creating stunning garden beds.
By the end, you’ll have a concrete plan for your Designing Garden Beds Kdagardenation project.
Trust me, you can do this. And I’m here to show you how.
Step 1: Know Your Canvas Before You Paint
First things first. The best designs work with the environment, not against it. This is non-negotiable.
You need to map your sunlight. It’s simple. Check at 9 am, 12 pm, and 3 pm.
Full sun means 6+ hours of direct light. Part sun is 4-6 hours. Anything less is shade.
Now, do a basic soil test. Grab a handful, give it a squeeze, and see what happens. If it holds a tight shape, you’ve got clay.
Sandy soil falls apart. Loamy soil crumbles nicely.
Next, define your garden’s purpose. Is it for cutting flowers? Growing veggies?
Why does this matter? Different plants thrive in different soils. (Trust me, you don’t want to plant a tomato in clay.)
Attracting pollinators? Or just for low-maintenance beauty? This decision will guide every choice that follows.
If you’re feeling stuck, check out Kdagardenation. They have some great resources on Designing Garden Beds Kdagardenation.
The Kdagardenation Method: Three Pillars of Great Design
to the Kdagardenation method. It’s a simple, memorable system for beginners.
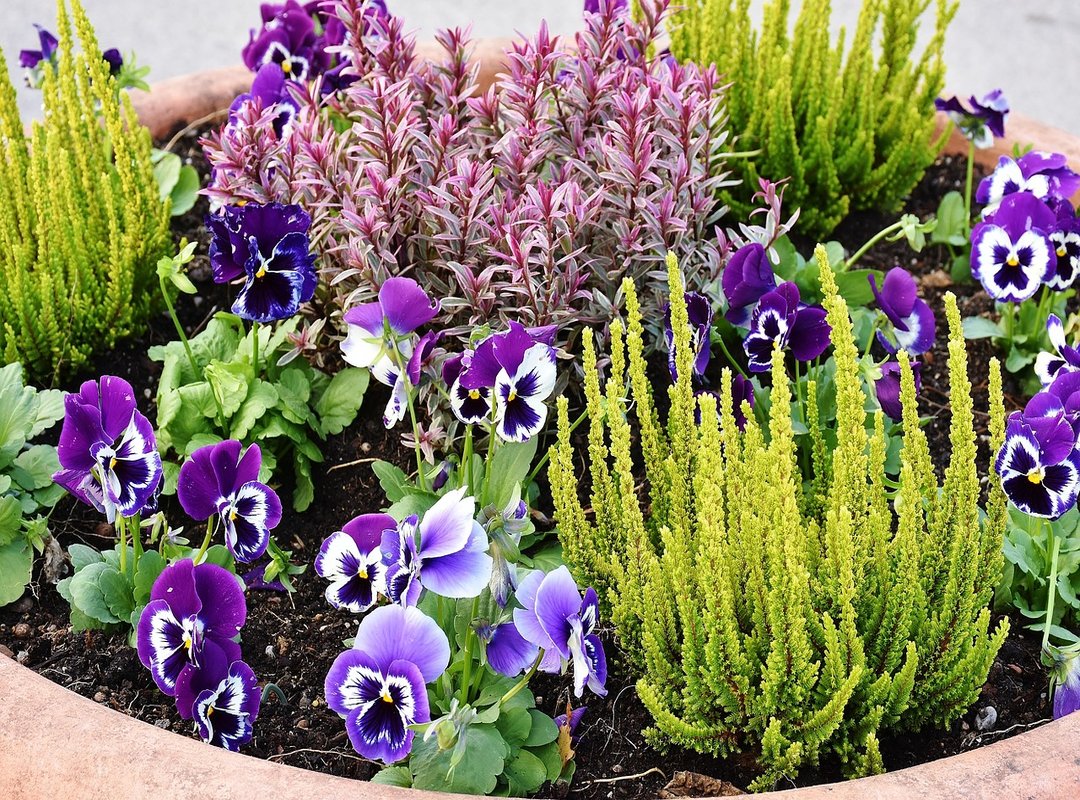
First up, Thrillers, Fillers, and Spillers. Thrillers are your tall, dramatic plants. Think ornamental grasses or delphiniums.
They grab attention.
Fillers do exactly what you’d expect. These mounding plants fill the space. Salvias and coreopsis are great examples.
They add bulk and color without overpowering.
Spillers? These are low-growing plants that cascade over the edge. Creeping phlox and sweet alyssum are perfect.
They soften edges and add a touch of elegance.
Next, Color Echoing. This is a simple trick for a professional look. Pick 2-3 main colors and repeat them throughout the bed with different plants.
It creates harmony and rhythm.
Why does this matter? It makes your garden look cohesive and well-planned. Not like a random collection of whatever was on sale.
Lastly, Texture and Form. A garden should be interesting even in black and white. Mix spiky and round leaves.
Use fine-leafed and bold plants to create visual depth.
This adds layers and interest. It’s not just about color. It’s about how the plants interact visually.
So there you have it. The three pillars of great design. Keep these in mind when you’re Designing Garden Beds Kdagardenation.
Trust me, it’ll make a difference.
I wrote more about this in Garden decoration kdagardenation.
Step 2: Putting Your Garden Design on Paper
Alright, let’s move from theory to action. Grab a pencil and paper.
First, draw the basic shape of your bed. Keep it simple. A rough rectangle, circle, or kidney shape is fine.
Now, mark ‘X’s for the tall thrillers. Place them in the back if it’s against a wall, or in the center if it’s an island bed.
Next, draw circles for the medium-sized fillers around the thrillers. Make sure to leave space for mature growth.
Finally, add scalloped lines along the front edge for the spillers. This is a plan, not a masterpiece. It’s okay if it’s a bit rough.
Pro Tip: Use circles to represent the mature size of the plant, not the size it is when you buy it.
Designing Garden Beds Kdagardenation can be a lot of fun. Just remember to keep it simple and practical.
This step-by-step guide will help you visualize and perfect your garden layout.
Avoid These 3 Common Beginner Design Blunders
Let’s be real. You don’t want to redo your garden because you made a rookie mistake.
First up, the ‘Straight Line’ Mistake. Plants in rigid, straight rows? That’s a no-go.
It looks unnatural and stiff. Try staggered, triangular groupings instead. They give a more organic, natural feel.
Next, the ‘One-Season Wonder.’ Don’t pick plants that all bloom in June. Your garden will look dull for the rest of the year. Choose plants with staggered bloom times.
You can read more about this in this guide.
This way, you’ll have something in bloom from spring through fall. Good foliage helps too.
Ignoring scale is another big one. Tiny plants next to a huge house? They get lost.
Huge plants on a small patio? They overwhelm the space. Always choose plants that are in proportion to their surroundings.
Trust me, learning from these mistakes can save you a lot of time, money, and heartache.
If you’re just starting out, check out this guide for more tips on Designing Garden Beds Kdagardenation.
Start Designing Your Dream Garden Today
Design overwhelm is real. But now you’ve got a system.
Assess your space. Use the ‘Thrillers, Fillers, Spillers’ method. Sketch it out.
It’s simple. Grab a piece of paper and a pencil. Go outside.
Look at your space. Draw the simple shape of your future garden bed.
That’s your first step. Designing Garden Beds Kdagardenation just got easier.
 There is a specific skill involved in explaining something clearly — one that is completely separate from actually knowing the subject. Shirley Forbiset has both. They has spent years working with home design inspirations in a hands-on capacity, and an equal amount of time figuring out how to translate that experience into writing that people with different backgrounds can actually absorb and use.
Shirley tends to approach complex subjects — Home Design Inspirations, Interior Decorating Tips, Sustainable Home Practices being good examples — by starting with what the reader already knows, then building outward from there rather than dropping them in the deep end. It sounds like a small thing. In practice it makes a significant difference in whether someone finishes the article or abandons it halfway through. They is also good at knowing when to stop — a surprisingly underrated skill. Some writers bury useful information under so many caveats and qualifications that the point disappears. Shirley knows where the point is and gets there without too many detours.
The practical effect of all this is that people who read Shirley's work tend to come away actually capable of doing something with it. Not just vaguely informed — actually capable. For a writer working in home design inspirations, that is probably the best possible outcome, and it's the standard Shirley holds they's own work to.
There is a specific skill involved in explaining something clearly — one that is completely separate from actually knowing the subject. Shirley Forbiset has both. They has spent years working with home design inspirations in a hands-on capacity, and an equal amount of time figuring out how to translate that experience into writing that people with different backgrounds can actually absorb and use.
Shirley tends to approach complex subjects — Home Design Inspirations, Interior Decorating Tips, Sustainable Home Practices being good examples — by starting with what the reader already knows, then building outward from there rather than dropping them in the deep end. It sounds like a small thing. In practice it makes a significant difference in whether someone finishes the article or abandons it halfway through. They is also good at knowing when to stop — a surprisingly underrated skill. Some writers bury useful information under so many caveats and qualifications that the point disappears. Shirley knows where the point is and gets there without too many detours.
The practical effect of all this is that people who read Shirley's work tend to come away actually capable of doing something with it. Not just vaguely informed — actually capable. For a writer working in home design inspirations, that is probably the best possible outcome, and it's the standard Shirley holds they's own work to.