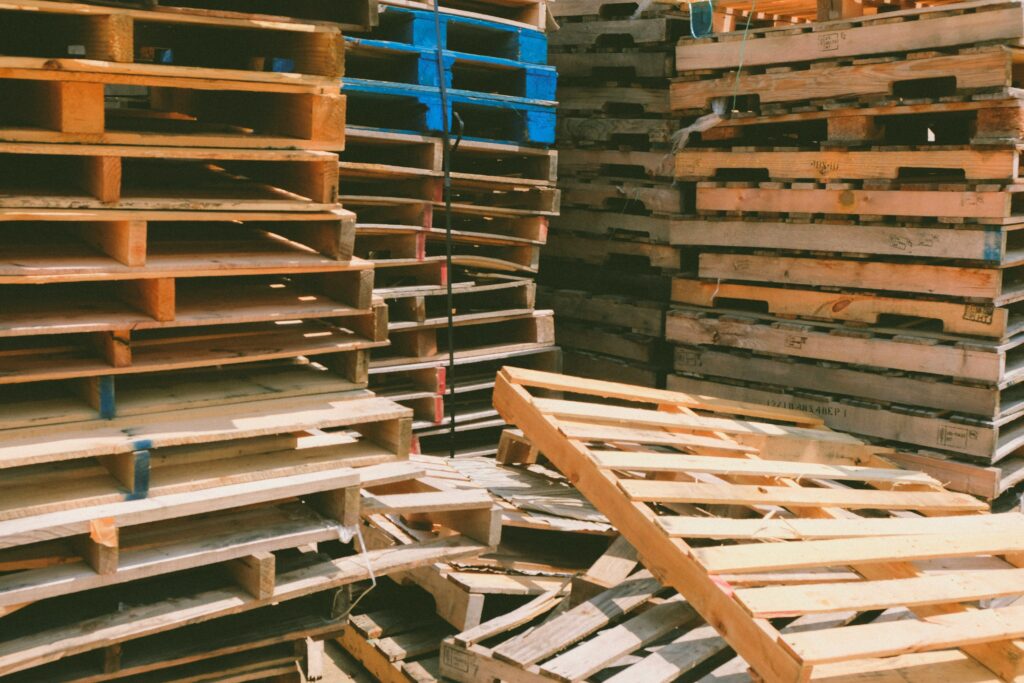
Prep Work is Half the Paint Job
Before you even crack open a paint can, solid prep is essential. Rushing through these early steps increases the chances of a disappointing finish that won’t last. Here’s how to get your space truly ready to paint.
Clear the Space
A clean, open area makes the whole painting process smoother and safer.
- Move out furniture or shove it to the center of the room
- Remove wall hangings, switch plates, and outlet covers
- Cover any remaining items with a drop cloth or plastic sheeting
Clean Every Surface
Paint sticks better to clean, dry surfaces. Skipping this step can ruin the finish.
- Dust and wipe down all walls
- Use a mild degreaser in kitchens or high-traffic areas
- Remove any residue from adhesives or tape
Fix Flaws Before You Paint
Imperfections show up more after you’ve painted over them.
- Fill in nail holes, dents, and cracks with spackle or filler
- Sand patched areas smooth once dry
- Lightly sand glossy surfaces to help paint adhere
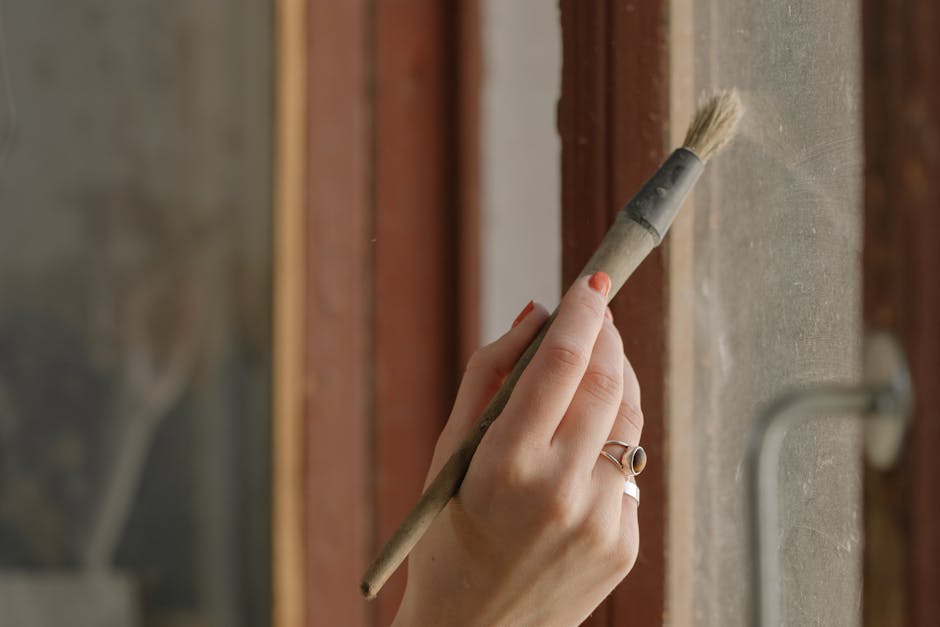
Tape Smart
Painter’s tape prevents mess and creates sharp lines—but only if you use it correctly.
- Apply tape tightly to edges around doors, trim, windows, and ceiling lines
- Press tape edges down with a putty knife to prevent bleeding
- Don’t skimp: a careful tape job saves cleanup time later
Prime When Necessary
Not every wall needs priming, but when it does, skipping it will cost you.
- Prime over dark or bold colors to prevent them from bleeding through
- Use primer on stained or patched areas for an even finish
- Opt for a stain-blocking primer in areas prone to moisture or marks
Advance planning and careful prep save you time, paint, and frustration. Treat prep like part of the painting, not just something to rush through.
When it comes to painting, the finish matters as much as the color. Matte works best for low-traffic areas like bedrooms and ceilings. It hides imperfections but is harder to clean. Eggshell has a soft touch of sheen and is good for walls in living rooms or dining rooms. Satin gives a bit more durability—ideal for busy spots like hallways and kids’ rooms. Semi-gloss is tougher and holds up well to moisture, so it’s often used for kitchens, bathrooms, and trim.
Cheap paint might seem fine up front, but it usually takes more coats and wears out faster. High-quality paint covers better, lasts longer, and performs better over time. You save money in the long run by avoiding constant touch-ups or full repaints.
To skip the guesswork on how much paint to buy, measure your walls and use a paint calculator (most brands have them online). Don’t just eyeball it. Overbuying leads to wasted paint and wasted cash. A gallon generally covers 350 to 400 square feet with one coat, but texture and color changes can impact that. Round up a little for touch-ups, but keep it tight.
When it comes to painting gear, buying cheap ends up costing more. A quality roller holds paint better, spreads it cleaner, and doesn’t shed fuzz mid-stroke. You spend less time backtracking and fixing blotches—less time means fewer hours standing on a ladder wondering why your wall still looks weird. Three budget rollers can’t match one that does it right the first time.
Brushes are trickier. An angled brush is your go-to for clean lines—think corners, trim, ceiling edges. A flat brush? Great for covering flat, broad surfaces with fewer strokes. Know your surface, pick accordingly.
As for other tools, it’s worth spending a little extra. A solid extension pole saves your back and gets even coverage from top to bottom. A thick canvas drop cloth beats a plastic sheet every time—no slipping, no rips. And edging tools? If you can’t cut a straight line on your own, they’re absolutely worth it. These upgrades don’t just help you paint—they help you finish faster, cleaner, better.
When it comes to smooth, pro-level coverage, how you apply paint matters as much as the paint itself.
Start by cutting in. That means using a brush to outline corners, baseboards, and edges before you roll. It keeps transitions clean and avoids those telltale lines that scream rushed job.
Next, work in small sections. Don’t stretch yourself thin or you’ll lose your wet edge—where one stroke blends into the next without overlap marks. Keep moving steadily and reload as needed.
Use the classic “W” pattern when rolling. It spreads the paint evenly and prevents obvious directional lines. Just resist the urge to go back over areas that have already started drying. That’s how you get streaks and patches.
The tool matters too. Don’t overload the brush or roller until it’s dripping, and don’t go so light you’re basically dry brushing. Aim for balance.
And here’s the deal-breaker: apply two thin coats. One thick coat might sound efficient, but it won’t cure right or cover well. Layers give you a better finish, better durability, and frankly, fewer regrets.
When the paint goes on smooth and the color looks right, it’s tempting to call it a day. But the cleanup stage matters just as much if you want pro-level results and tools you can use again.
First, don’t wait too long to pull the tape. If the paint dries, it can tear and leave jagged edges. Aim for a 45-degree angle and remove slowly while the paint is still slightly tacky.
Next, scan your work. Look for drips, patchy coverage, and lines that didn’t quite land. These are small fixes now—but they stand out hard once the paint sets.
Then, tools. Brushes, rollers, trays—get them cleaned right away. Dried paint turns them into trash. Water-based paints? Rinse with soap and water. Oil-based? Use the right solvent. Skipping this step costs you in the long run.
Finally, store leftover paint properly. Seal the can tight, label it clearly, and keep it somewhere cool and dry. As for disposal, don’t just toss it—check local rules. It’s not just about being tidy, it’s about not creating the next problem you have to fix.
Sometimes your space doesn’t need a total renovation. It just needs a smart refresh. Swapping out old cabinet hardware, painting an accent wall, or updating trim color can make a room feel new without much effort or cost. Focus on contrast—dark handles on light cabinets, bold color choices on clean walls, or a fresh edge around windows and baseboards. These changes speak loudest when the rest of the room is kept simple.
If you’ve got tired furniture pieces, don’t toss them just yet. Breathing new life into old wood can pay off big visually. Before you go full DIY mode, check this out first: How to Refinish Wood Furniture Without Stripping.
A pro-level paint job doesn’t require a mountain of cash. What it does need is thorough prep, a steady pace, and a few quality tools. Start by sanding and cleaning your surfaces properly. Skipping this step is where most DIY paint jobs go south. Tape like your life depends on it, because clean edges are what make the difference between ‘weekend project’ and ‘pro finish.’
As for tools, you don’t need the fanciest brushes or rollers, just solid basics that don’t shed or leave streaks. Use a primer when needed, and don’t rush your coats. Let each layer dry fully before going in again. It’s less exciting but way more effective.
The trick? Don’t cut corners. A simple, well-executed paint job always beats a flashy one done in a hurry. Focus on the fundamentals and you’ll end up with results that look sharp, polished, and way more expensive than they were.
 There is a specific skill involved in explaining something clearly — one that is completely separate from actually knowing the subject. Shirley Forbiset has both. They has spent years working with home design inspirations in a hands-on capacity, and an equal amount of time figuring out how to translate that experience into writing that people with different backgrounds can actually absorb and use.
Shirley tends to approach complex subjects — Home Design Inspirations, Interior Decorating Tips, Sustainable Home Practices being good examples — by starting with what the reader already knows, then building outward from there rather than dropping them in the deep end. It sounds like a small thing. In practice it makes a significant difference in whether someone finishes the article or abandons it halfway through. They is also good at knowing when to stop — a surprisingly underrated skill. Some writers bury useful information under so many caveats and qualifications that the point disappears. Shirley knows where the point is and gets there without too many detours.
The practical effect of all this is that people who read Shirley's work tend to come away actually capable of doing something with it. Not just vaguely informed — actually capable. For a writer working in home design inspirations, that is probably the best possible outcome, and it's the standard Shirley holds they's own work to.
There is a specific skill involved in explaining something clearly — one that is completely separate from actually knowing the subject. Shirley Forbiset has both. They has spent years working with home design inspirations in a hands-on capacity, and an equal amount of time figuring out how to translate that experience into writing that people with different backgrounds can actually absorb and use.
Shirley tends to approach complex subjects — Home Design Inspirations, Interior Decorating Tips, Sustainable Home Practices being good examples — by starting with what the reader already knows, then building outward from there rather than dropping them in the deep end. It sounds like a small thing. In practice it makes a significant difference in whether someone finishes the article or abandons it halfway through. They is also good at knowing when to stop — a surprisingly underrated skill. Some writers bury useful information under so many caveats and qualifications that the point disappears. Shirley knows where the point is and gets there without too many detours.
The practical effect of all this is that people who read Shirley's work tend to come away actually capable of doing something with it. Not just vaguely informed — actually capable. For a writer working in home design inspirations, that is probably the best possible outcome, and it's the standard Shirley holds they's own work to.