Step 3: Clean the Surface Thoroughly
Before moving on to any next step, it’s crucial to ensure the surface is properly cleaned. A spotless surface helps finishes, paints, or sealants adhere effectively and ensures a lasting result.
What You’ll Need:
- Warm water
- Mild dish soap
- Soft cloth or sponge
Cleaning Instructions:
- Mix a small amount of mild dish soap with warm water.
- Dip your cloth or sponge into the solution and begin wiping down the surface.
- Focus on removing all visible grime, wax buildup, and embedded dirt. Take your time with corners and textured areas.
- If the surface is particularly dirty, rinse your cloth and go over it again with fresh solution.
Dry the Surface Completely:
- After cleaning, use a dry towel or lint-free cloth to remove all moisture.
- Allow the surface to air-dry if needed, but ensure it is entirely dry before proceeding to the next step.
A thoroughly cleaned and dried surface can make all the difference in achieving a professional, lasting finish.
Introduction
Vlogging isn’t going anywhere. Despite shifting algorithms, rising AI tools, and shorter attention spans, creators have managed to keep their cameras rolling. The playing field is different, but the fundamentals haven’t changed: people want real stories from real voices.
Heading into 2024, the winds are shaking things up. Platforms are evolving faster than before, and attention is harder to earn. It’s not just about posting content—it’s about how you show up, how often, and how relevant you are in the moment. For creators, that means less guessing and more strategy. Instead of chasing trends, it’s about understanding what drives engagement and leaning into what makes your voice stick.
This year, staying visible means adapting. There’s no time for autopilot. But for those who are willing to adjust, the path forward is still wide open.
Before jumping into a complete refinishing job, take a few minutes to evaluate whether the piece actually needs it. Not every table or dresser requires full stripping. Start by inspecting the surface. If you’re seeing cosmetic issues like minor scratches, cloudy finish, or uneven color, those are good signs that a light touch-up or sanding might do the trick.
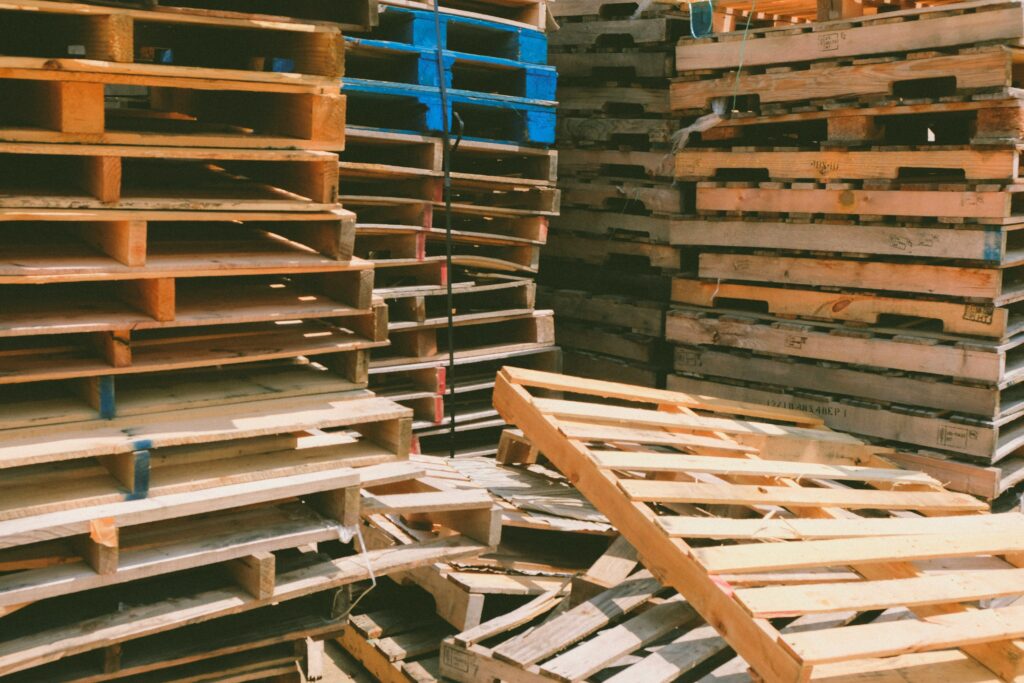
Next, figure out if you’re dealing with solid wood or veneer. Check the edges and corners—veneer tends to peel or chip, and it usually has a layered look at the edge, unlike solid wood. Solid pieces handle aggressive refinishing better. Veneer can still be refinished but needs a more delicate approach since you don’t want to sand right through it.
The goal here is simple. Fix what needs fixing, skip the unnecessary drama. Know your materials and your limits.
Use Paint or Chalk Paint
When all else fails or you just want a bold transformation, paint delivers. Chalk paint especially gets the job done with minimal prep. It sticks to most old finishes without needing stripping or priming, which saves a ton of time.
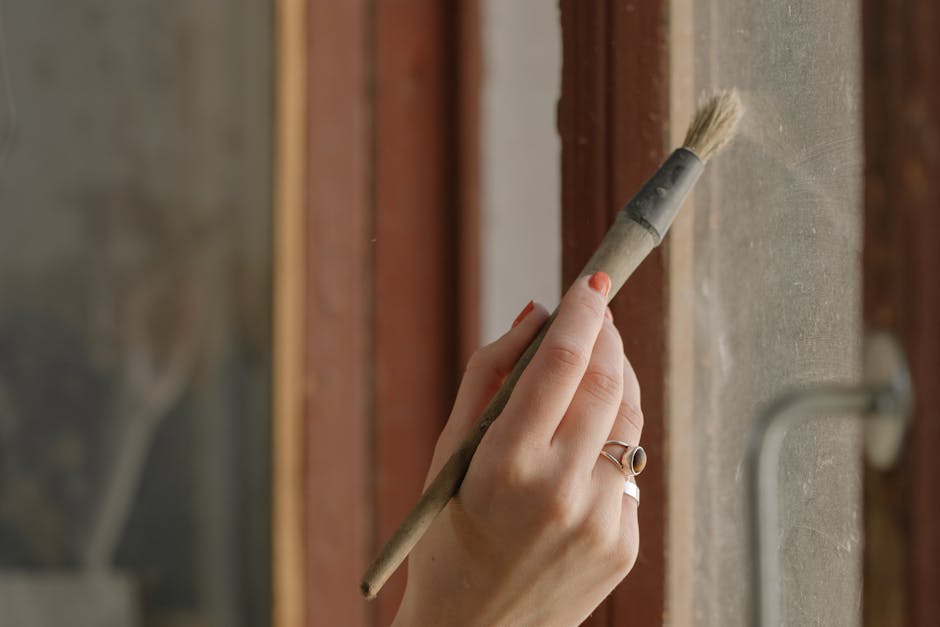
Start with a clean surface. Then brush on your first coat. Let it dry, and follow with a second. If you’re going for that matte, vintage look, chalk paint nails it. Once you’re done with the color, seal your work with either a finishing wax or a clear polyurethane. That extra step keeps the paint from scratching or fading later on.
Before doing anything else, grab some fine grit (220) sandpaper. You don’t need to go heavy—just a light hand sanding to scuff the surface is enough. The goal isn’t to strip the finish; it’s to give your next layer something to grip. Once you’ve sanded, wipe everything down with a tack cloth to get rid of dust and debris. Clean surface, clean results.
If you’re planning to paint without sanding, a high-quality bonding primer is non-negotiable. It helps the paint grip tightly to the surface, even if it’s sealed or glossy. This step isn’t just helpful—it’s essential. Skipping it means your paint may peel, slide, or fail to adhere evenly. A good bonding primer creates a solid foundation so you can get smooth, long-lasting results with less prep work.
Once the paint or stain is dry, sealing your piece is what locks it all in. Polyurethane, polycrylic, and furniture wax are your main options. Each brings different strengths to the table. Polyurethane is tough and water-resistant, good for high-traffic surfaces. Polycrylic dries fast, stays clear, and works better over lighter finishes. Wax gives a soft, hand-rubbed look, but needs touch-ups over time.
What you choose depends mostly on the finish you’re going for and what you used underneath. Oil-based products pair better with stains, while water-based ones work clean over latex paints. As for sheen, think about how much shine you want—most sealers come in matte, satin, semi-gloss, or glossy.
Whatever you go with, let it cure fully. Not just dry—cure. That means giving it enough time to harden and bond completely, so the finish lasts and doesn’t dent or peel. It’s not the glamorous part of the project, but it’s what makes it stick.
Before you dive into any kind of application—whether it’s paint, coating, or sealant—start small. Testing the product on a small, hidden patch first helps you avoid major regrets. It’s the easiest way to check for compatibility and finish quality without committing the entire surface.
Next, make sure you’re working somewhere with solid airflow. A ventilated space keeps fumes in check and helps the product cure evenly. This step gets skipped too often, but it can make or break how the finish sets.
Finally, don’t skimp on brushes or applicators. Cheap tools leave streaks, shed bristles, and mess with the result. Quality application gear might cost more upfront, but it saves you time and headaches later.
For more smart upgrades that don’t break the bank, check out: Weekend DIY Projects to Upgrade Your Home on a Budget. These quick projects are straightforward, affordable, and perfect for creators looking to level up their space without blowing a paycheck. A cleaner backdrop, better lighting, or even a fresh wall texture can go a long way on camera. The upgrade doesn’t have to be major. It just has to feel intentional.
Refinishing wood furniture without stripping is not just possible. It’s smart, especially if you want to avoid harsh chemicals and save time. The trick lies in working with what you’ve got. Instead of fully stripping the old finish, you clean, patch, sand lightly, and build up from there.
Start by giving the piece a deep clean. Dirt, wax, or polish buildup can mess with finishes. Once cleaned, fill in any scratches or dents using wood filler. After that, a light sanding roughs up the surface just enough to help new stain or paint stick. From here, you can restain in a similar tone or paint with an adhesive primer and finish coat.
This method works best on furniture that’s structurally sound but just looks tired. The payoff? A refreshed piece that keeps its character, costs less to fix up, and skips the chaos of full stripping. It’s proof you don’t need to start from zero to make old wood beautiful again.
 Norvain Elthros has opinions about interior decorating tips. Informed ones, backed by real experience — but opinions nonetheless, and they doesn't try to disguise them as neutral observation. They thinks a lot of what gets written about Interior Decorating Tips, Outdoor Living Ideas, Creative Concepts is either too cautious to be useful or too confident to be credible, and they's work tends to sit deliberately in the space between those two failure modes.
Reading Norvain's pieces, you get the sense of someone who has thought about this stuff seriously and arrived at actual conclusions — not just collected a range of perspectives and declined to pick one. That can be uncomfortable when they lands on something you disagree with. It's also why the writing is worth engaging with. Norvain isn't interested in telling people what they want to hear. They is interested in telling them what they actually thinks, with enough reasoning behind it that you can push back if you want to. That kind of intellectual honesty is rarer than it should be.
What Norvain is best at is the moment when a familiar topic reveals something unexpected — when the conventional wisdom turns out to be slightly off, or when a small shift in framing changes everything. They finds those moments consistently, which is why they's work tends to generate real discussion rather than just passive agreement.
Norvain Elthros has opinions about interior decorating tips. Informed ones, backed by real experience — but opinions nonetheless, and they doesn't try to disguise them as neutral observation. They thinks a lot of what gets written about Interior Decorating Tips, Outdoor Living Ideas, Creative Concepts is either too cautious to be useful or too confident to be credible, and they's work tends to sit deliberately in the space between those two failure modes.
Reading Norvain's pieces, you get the sense of someone who has thought about this stuff seriously and arrived at actual conclusions — not just collected a range of perspectives and declined to pick one. That can be uncomfortable when they lands on something you disagree with. It's also why the writing is worth engaging with. Norvain isn't interested in telling people what they want to hear. They is interested in telling them what they actually thinks, with enough reasoning behind it that you can push back if you want to. That kind of intellectual honesty is rarer than it should be.
What Norvain is best at is the moment when a familiar topic reveals something unexpected — when the conventional wisdom turns out to be slightly off, or when a small shift in framing changes everything. They finds those moments consistently, which is why they's work tends to generate real discussion rather than just passive agreement.