Introduction
Vlogging didn’t fade when platforms shifted or when attention spans shrank. It adapted. Through algorithm changes, rising competition, and new creator tools, it stayed rooted in one thing: real connection. That’s what kept it alive while trends came and went.
Now 2024 brings sharper turns. Platforms are tweaking what gets seen. Viewers aren’t just swiping for entertainment—they’re craving substance. Meanwhile, AI and editing tools are simplifying the grind, letting creators focus more on voice and less on busywork.
For creators, this isn’t just noise. If anything, it’s signal. Knowing what’s shifting—faster feedback loops, tighter niches, smarter production—is how you keep pace. The gap is growing between those who post and those who produce with intent. In 2024, that difference matters more than ever.
Boosting Ambience with Lighting Upgrades
Lighting can completely transform the look and feel of a room without a full renovation. A few smart swaps and upgrades can elevate your space’s mood, function, and energy efficiency.
Swap Fixtures to Change the Vibe
Changing your light fixtures is one of the fastest ways to set a new tone in a room. Whether you’re going for modern minimalism or cozy vintage, the right fixture makes a statement.
- Replace outdated ceiling lights with sleek pendant lamps or flush mounts
- Use floor lamps and sconces to add layered lighting and depth
- Choose materials and finishes that complement your room’s overall aesthetic
LED Upgrades That Do More Than Shine
LED lights are no longer just an energy-saving alternative. They now come in a variety of colors, temperatures, and smart features that can be controlled via apps or voice commands.
- Opt for dimmable LEDs to set different moods at different times of day
- Use color-tuning LEDs to match natural light throughout the day
- Switch to smart bulbs for added functionality and automation
DIY Tools and Safety Gear to Have on Hand
Most lighting changes can be done without calling an electrician, but safety and the right equipment are key.
- A voltage tester to ensure wires are safe to handle
- Wire strippers, screwdrivers, and pliers for easy fixture changes
- Safety gloves and eye protection to avoid accidental injury
A well-lit space doesn’t just look better—it works better for the way you live. Start small, be safe, and enjoy the glow of a refreshed environment.
If you’re after a fast aesthetic lift for your vlog setup, you don’t need to spend a week or drain your wallet. Peel-and-stick options like LED strip lights, wall decals, backdrop fabrics, and even faux tile panels can refresh a space in just a few hours. It’s about quick visual impact without committing to a full renovation.
Go for trusted online sources like B&H, Amazon, or Uplift Desk if you’re adding lighting or desk accessories. For background props or wall treatments, check out small Etsy shops or local decor stores for unique finds. Avoid low-rated knockoffs—especially with adhesives. Cheap ones don’t stick well or worse, damage your walls when removed.
To keep the process clean, prep your surfaces beforehand. Dust, grime, and texture will all mess with your install. Measure twice before committing to placement. And when it’s time to switch things up, use a hairdryer on low heat to ease adhesive removal, then wipe down with gentle cleaner to avoid residue. No one’s got time for re-painting.
Perfect for tight spots or odd corners, a wall-mounted vlogging setup is a smart move for creators short on space but big on ambition. Whether you’re filming in a studio apartment, shared room, or makeshift walk-in closet, mounting your gear keeps your floor clear and your workflow tight.
Here’s what you’ll need:
- Wall mount arm or articulating boom for camera or phone (Expect $20–$80)
- Compact LED panel with wall bracket (Around $30–$100)
- Small shotgun mic or lapel mic (Anywhere from $25–$150)
- Cable management strips or adhesive channels ($10–$20)
- Anchors and screws suited for your wall type (Usually under $10 if not included)
Total cost can range low to mid hundreds depending on the gear you already own. The trade-off: more room to breathe while gaining a hassle-free filming zone.
Pro tip: Don’t just screw into the drywall and call it good. Use proper anchors or hit a stud. Level everything before drilling and map out your full setup on paper first. If you’re in a rental, check out damage-free mounting options like high-strength adhesive hooks or removable brackets.
Once it’s up, it’s up. Clean lines, uncluttered space, and no gear to trip over.
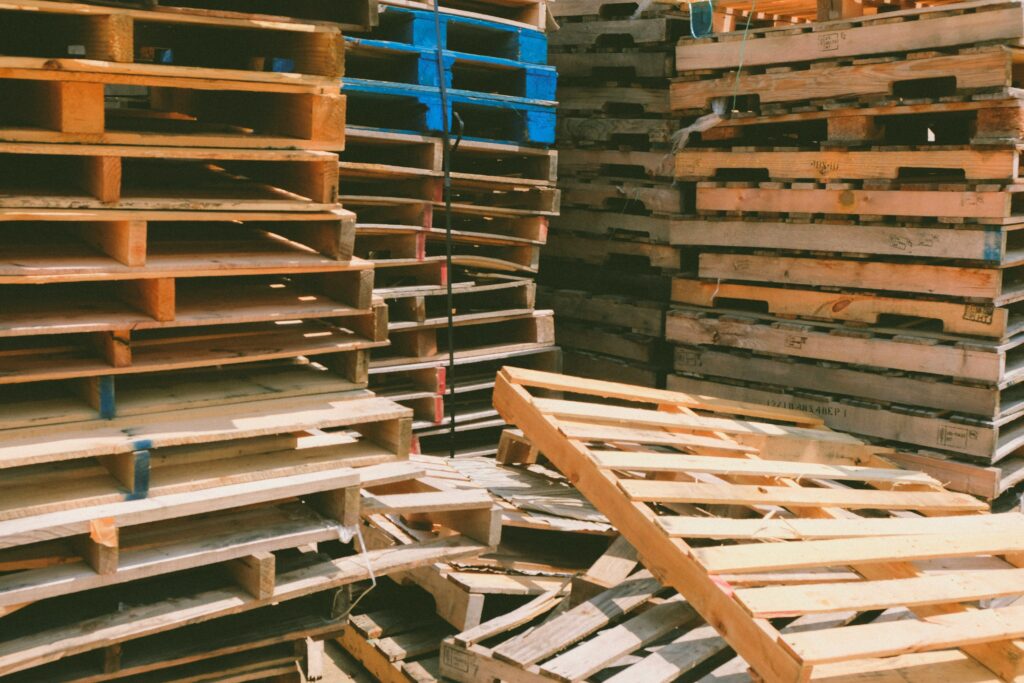
Got a sunny corner in your kitchen or a bare patio wall? Turn it into something green and useful. Start by reusing what you’ve already got: old wood scraps, mason jars, or even metal planters from last season. Mount them securely and you’ve got a quick vertical herb garden that looks good and works even better.
Herbs like basil, mint, and thyme thrive in smaller containers and don’t need deep soil. Just make sure there’s drainage so the roots don’t drown. Line the bottom with gravel or poke a few holes if you’re using jars or cans. Stick to a consistent watering routine — twice a week is a solid start for most herbs, though that changes if you’re in a hotter climate or facing lots of rain.
Trim as you go. This not only keeps plants healthy but makes your kitchen smell like the farmers market all week. Vloggers have started showing quick daily snippets of their herb wall harvesting, turning routine care into solid content that smells like rosemary and subscriber growth.
The Right Tools Make All the Difference
Every successful DIY project starts with having the right tools on hand. Whether you’re hanging shelves, tackling a weekend wall-reno, or setting up your first accent wall, a basic toolkit can help you achieve professional-looking results without calling in a pro.
The Real MVPs: Must-Have Tools
These simple but powerful items belong in every beginner’s toolbox:
- Level: Ensures shelves, frames, and fixtures are perfectly straight
- Drill: Makes tasks faster than a manual screwdriver and works for both wood and drywall
- Painter’s Tape: Essential for clean paint edges and layout planning
- Utility Knife: From opening boxes to trimming excess materials, it’s a multi-use tool you’ll reach for often
Budget-Friendly Toolkits for Weekend Warriors
You don’t need to invest in top-of-the-line gear to get started. Many home improvement stores offer starter sets that cover the basics. When shopping:
- Look for combo kits that include a drill, measuring tape, and a basic set of bits
- Prioritize tools with solid user reviews rather than brand recognition alone
- Invest gradually—start with essentials, then add only the tools your projects truly require
Safety First: Gear That Matters
Even simple DIY jobs involve potential hazards. A few safety basics go a long way:
- Gloves: Protect your hands from splinters, box cutter slips, and rough edges
- Goggles: Shield your eyes from dust, debris, or flying material when drilling or sawing
- Dust Mask: Crucial for any cutting or sanding projects—better safe than sorry
Equipping yourself with these essentials early on makes small projects smoother and safer. Before long, your toolkit and your skills will grow hand in hand.
When it comes to a kitchen backsplash, the decision usually starts with one big fork in the road: peel-and-stick or classic tile and grout. Each has its pros and drawbacks, and your choice depends on what matters more to you — speed and simplicity or long-term durability.
Peel-and-stick tiles are a dream for renters, first-timers, and anyone short on tools or time. They go on fast, no grout mess, and if you mess up, you can start over without too much drama. The downside? They’re more for the short haul. Over time, heat and humidity can mess with the adhesive, and they don’t always look quite like the real thing up close.
Classic tile plus grout? That’s the traditional route. It takes longer and asks for a bit more skill, but you’ll get a tougher, more polished finish that holds up for years. Just be ready to measure, cut, level, and mix grout like you mean it.
Not sure where to start? Skip the trendy materials that age fast. Start with clean, neutral designs if you’re new to DIY. And if you want pro-level results without hiring someone, check this out: How to Install a Stylish Backsplash in Your Kitchen.
Know What You’re Building and Why
Chasing trends is a fast way to burn out. Before you jump into the next viral format or collab, pause. Ask: does this move me closer to what I actually want? Whether that’s creative freedom, a full-time income, or just having fun with a camera, the best projects are the ones that align with your real goals—not just the algorithm’s current mood.
Also, DIY is great until it isn’t. Learning how to light your own shot or edit your own footage builds skill fast. But there’s zero shame in outsourcing when you’re slammed or out of your depth. Time is a real cost. Spending all night trying to sync audio or fix color grading, if it’s not your thing, can just slow your growth.
Best rule? Keep it simple. Simple planning. Simple setups. Simple storytelling. Measure twice, hit record once, and don’t forget to enjoy the ride. If it feels like a grind every time you pick up the camera, something needs tweaking.
 Irene Mooressit writes the kind of outdoor living ideas content that people actually send to each other. Not because it's flashy or controversial, but because it's the sort of thing where you read it and immediately think of three people who need to see it. Irene has a talent for identifying the questions that a lot of people have but haven't quite figured out how to articulate yet — and then answering them properly.
They covers a lot of ground: Outdoor Living Ideas, DIY Home Improvement Projects, Sustainable Home Practices, and plenty of adjacent territory that doesn't always get treated with the same seriousness. The consistency across all of it is a certain kind of respect for the reader. Irene doesn't assume people are stupid, and they doesn't assume they know everything either. They writes for someone who is genuinely trying to figure something out — because that's usually who's actually reading. That assumption shapes everything from how they structures an explanation to how much background they includes before getting to the point.
Beyond the practical stuff, there's something in Irene's writing that reflects a real investment in the subject — not performed enthusiasm, but the kind of sustained interest that produces insight over time. They has been paying attention to outdoor living ideas long enough that they notices things a more casual observer would miss. That depth shows up in the work in ways that are hard to fake.
Irene Mooressit writes the kind of outdoor living ideas content that people actually send to each other. Not because it's flashy or controversial, but because it's the sort of thing where you read it and immediately think of three people who need to see it. Irene has a talent for identifying the questions that a lot of people have but haven't quite figured out how to articulate yet — and then answering them properly.
They covers a lot of ground: Outdoor Living Ideas, DIY Home Improvement Projects, Sustainable Home Practices, and plenty of adjacent territory that doesn't always get treated with the same seriousness. The consistency across all of it is a certain kind of respect for the reader. Irene doesn't assume people are stupid, and they doesn't assume they know everything either. They writes for someone who is genuinely trying to figure something out — because that's usually who's actually reading. That assumption shapes everything from how they structures an explanation to how much background they includes before getting to the point.
Beyond the practical stuff, there's something in Irene's writing that reflects a real investment in the subject — not performed enthusiasm, but the kind of sustained interest that produces insight over time. They has been paying attention to outdoor living ideas long enough that they notices things a more casual observer would miss. That depth shows up in the work in ways that are hard to fake.