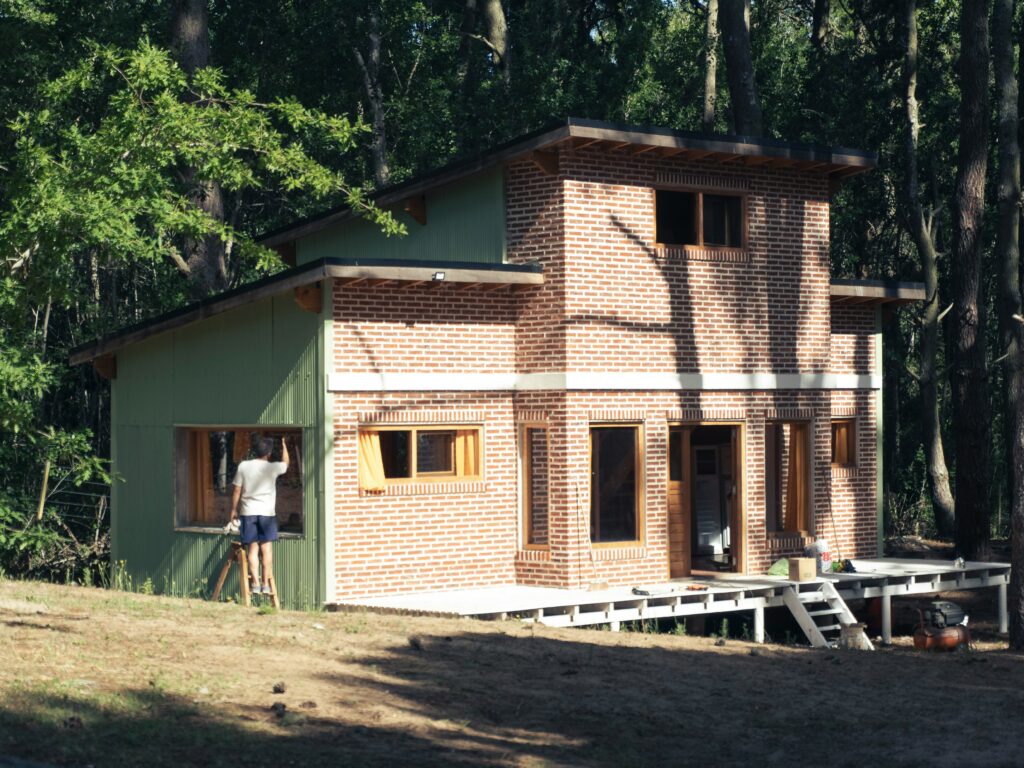
Why a Little Refresh Goes a Long Way
You don’t need a contractor, a loan, or a three month timeline to make your space feel like yours. Two days one weekend is enough to knock out upgrades that make a room brighter, more functional, or just less boring. It’s about working smarter, not tearing down walls.
DIY doesn’t have to look cheap. With some planning and a handful of tools, a $50 makeover can feel like a $500 one. It’s not cutting corners it’s choosing crisp results over bloated budgets. Paint, new hardware, better lighting simple swaps with solid payoff.
This kind of weekend project is tailor made for renters, first time buyers, or anyone who wants a change without the commitment. No drywall dust, no regrets. And if you’re on a budget? That’s not a limitation it’s the challenge that makes it interesting.
Update 1: Paint That’s Not Just White
A fresh coat of paint is still one of the fastest, cheapest ways to breathe life into a space but don’t feel limited to white or beige. Whether you rent or own, strategic paint choices can make a room feel personalized without long term commitment.
Go Bold with Accent Walls
Choose one wall as your focal point think behind the bed, sofa, or dining table
Deep blues, forest greens, or even rich terracotta are trending and timeless
Use removable wallpaper or peel and stick paint options if permanent paint is a no go
Cabinets and Doors: Underrated Game Changers
Painting cabinets or interior doors can provide high impact transformation without major costs.
Try matte black, navy, or soft sage for a sophisticated upgrade
Paint just the lower cabinets for contrast, especially in small kitchens
Refresh interior doors with bold neutrals or vintage hues for added character
What You’ll Need (and What You Can Skip)
Must Haves:
Painter’s tape
Primer (especially for cabinets or darker color changes)
Angled brush and a small roller
Drop cloths or old sheets for easy clean up
What to Skip:
Expensive specialty brushes (a mid range angled brush works fine)
Overbuying paint most accent walls need less than a gallon
Designer brands if you’re not color matching hardware store paints are solid candidates
A weekend, a quart of paint, and a little courage are all it takes to see your space in a whole new way.
Update 2: DIY Lighting Tweaks
Lighting is one of the fastest ways to kill or elevate a room’s vibe. And most builder grade fixtures? They’re doing you no favors. Swap those out with something that shows a little personality maybe vintage inspired, industrial, or just anything that doesn’t look like it came in a bulk pack.
If you’re not ready to rewire ceiling lights, go for under cabinet lighting. Peel and stick LED strips are budget friendly, take minutes to install, and instantly make your kitchen or workspace feel intentional. Bonus: no electrician needed.
And don’t skip dimmers. Whether it’s plug in or hardwired, a dimmer can shift a room from blindingly bright to warm and cozy with a twist or tap. It’s the kind of tiny install that gives major grown up energy.
Bottom line: good lighting won’t just brighten your room it sharpens the whole look.
Update 3: Easy Curb Appeal
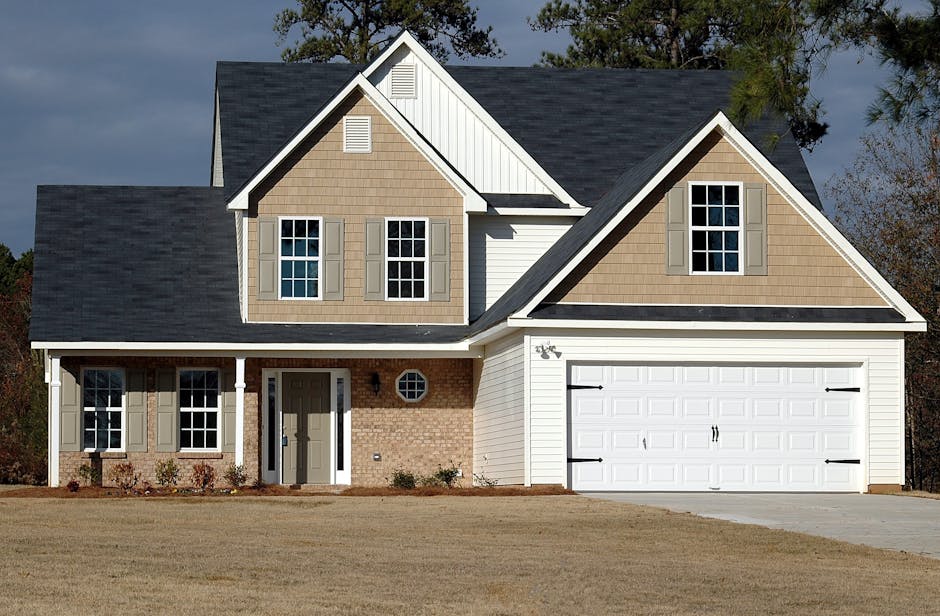
First impressions matter, and your front entry is the handshake of your home. A fresh coat of paint on the front door takes minimal effort but delivers maximum impact. Go bold with color red, navy, even matte black just make sure it complements your exterior. Most doors only need a quart of paint and a couple of daylight hours to look brand new.
Next, check those house numbers. Faded or crooked numbers make your home look forgotten. Swapping them takes less than 30 minutes. Choose a style that suits your place sleek and modern, classic and serifed, or something playful if that’s your vibe. Aim for visibility from the street and use a strong adhesive or screws to keep them in place.
Finally, bring in life with planters. You don’t need pricey pottery or a green thumb. Grab basic containers from a hardware store and fill them with low maintenance greenery or quality faux plants. Flanking the door with just two planters instantly frames the space and welcomes attention. Small budget, big return.
These curb appeal updates don’t ask for much just a free Saturday or Sunday and a little intention.
Update 4: Smart Storage Without the Custom Price Tag
Let’s be honest most floating shelves are useless if they can’t handle more than a few candles. The fix? Don’t skimp on the wall anchors. Choose heavy duty brackets and install straight into studs when you can. It’ll hold your cookbooks, speakers, and whatever else you’re tired of stacking sideways. Function matters more than the Pinterest finish.
Next up: all that dead space you’re ignoring. The backs of closet doors are prime real estate. Stick on hooks, over the door organizers, even narrow racks for cleaning supplies or pantry overflow they all make more out of what you already have. Under the sink? That’s not just storage limbo. One tension rod and a few small bins can turn it into a system instead of a mess.
Closet chaos is another easy win. Ditch the mismatched hangers and toss in a second tension rod or hanging cubbies. Clear bins on the top shelf = no more guessing games. No custom carpenter, no major budget. Just smart tweaks that look and feel cleaner.
Update 5: Hardware Swap Mission
This is the smallest change with the biggest surprise factor. Swapping out drawer pulls and cabinet knobs is one of those jobs that takes less than an hour but completely shifts the vibe of a room. Think of it like switching out the shoes on an outfit it’s not the whole look, but it pulls everything together.
Right now, black, brass, and matte finishes are leading the charge. They’re clean, modern, and instantly elevate even the most basic IKEA dresser. Got outdated chrome or dull wood knobs? They’ve had a good run. Time to let them go.
If you don’t own a drill, don’t sweat it. Many hardware swaps use the same hole spacing, which means you can remove and replace with just a screwdriver. No holes to fill, no mess, and no commitment issues. It’s renter friendly, budget proof, and oddly satisfying.
Where to Begin
Don’t waste time measuring rooms or drawing elaborate layouts. Start with the clock, not the floor plan. You get one weekend maybe just an afternoon. That means doing the projects you’ll actually finish, not ones you’ll abandon halfway through Sunday.
Next, be ruthless about using what you have. Old paint cans? Half a roll of peel and stick wallpaper? That leftover tile from last year? This is the moment. Instead of blowing your budget, save your cash for one or two impact buys think a bold light fixture or new cabinet hardware that changes the room without draining your wallet.
And here’s the kicker: set a timer. Two hours for painting, thirty minutes for organizing under the sink, one hour for planter assembly. Then quit. Weekend upgrades shouldn’t turn into home improvement spirals. You want the win, not the burnout.
For more hands on ideas and inspiration, check out our full list of weekend DIY upgrades. This guide breaks down what’s worth your time (and what isn’t).
Ready to turn two days into real change? Roll up your sleeves your space is waiting.